I’ve been wanting to do a car DIY for a while now. But the challenge was what materials to use. My first thought was to use cardstock like I did for the boat diy but since I wanted to make a toy that actually worked, that was out. Then I thought I could use toilet paper rolls but I couldn’t find a way of making the wheels work with the size of wheels I had on hand. In order for it to work, I would have needed wheels that were about 3 inch wide, which would have looked ridiculous on the paper roll.

Then I finally came upon this wood DIY kit. I was ecstatic. It met all my needs: pieces made of wood and it was fairly easy to put together. I am putting together a DIY Kit Box that will include this car. Stay tuned.
You can find more of the transportation tutorials here: airplane, boat and helicopter.
In the meantime, check out the DIY below.

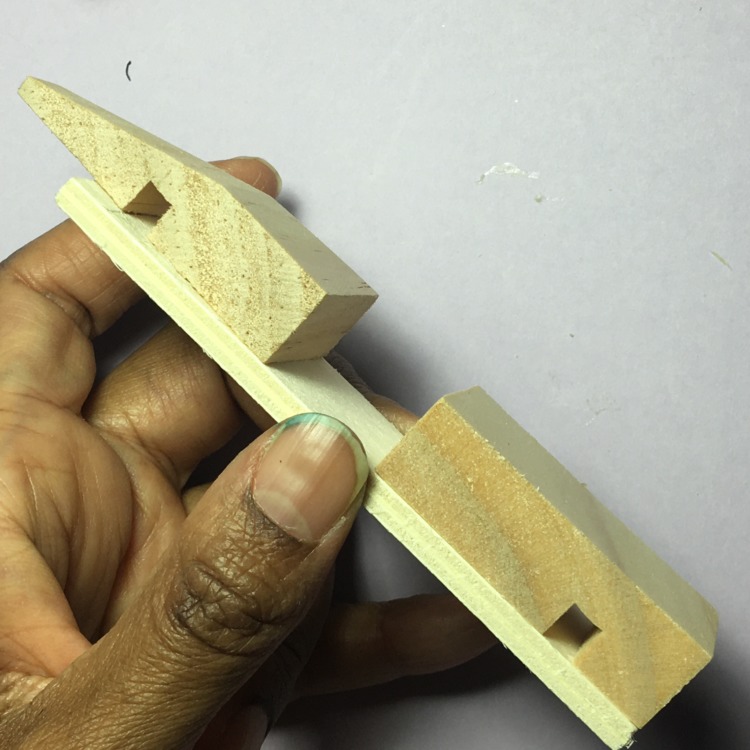
Kit Contents: 4 wheels, 1 spoiler, 2 struts, 2 axles, 1 cockpit, I chassis, 1 front hood, 1 rear hood, 2 side boards and tube of glue
Additional supplies (not shown): paint, paint brushes, painters tape, clear ruler, pencil

First step, measure a quarter inch from one of the short edges. This will be the front of the car. OF NOTE: I tend to be anal about how things look. Over the years I have found that when I don’t measure placement of some parts of my project, I will notice things being off center or that sides don’t match up etc. So now I just measure to keep my stress level low. 🙂 Your child does not have to do. They can just eyeball it.

Next, apply glue to the bottom of the front hood, making sure to cover the entire all over the back end of the front hood and only apply just a 1/4 wide area at the front end as shown above.

Carefully place the front hood on the chassis, making sure to line up as shown in the step above..
Apply glue to the rear hood and attach onto the chassis as shown above. Make sure to place the back axle hold closer to the back end than the center.

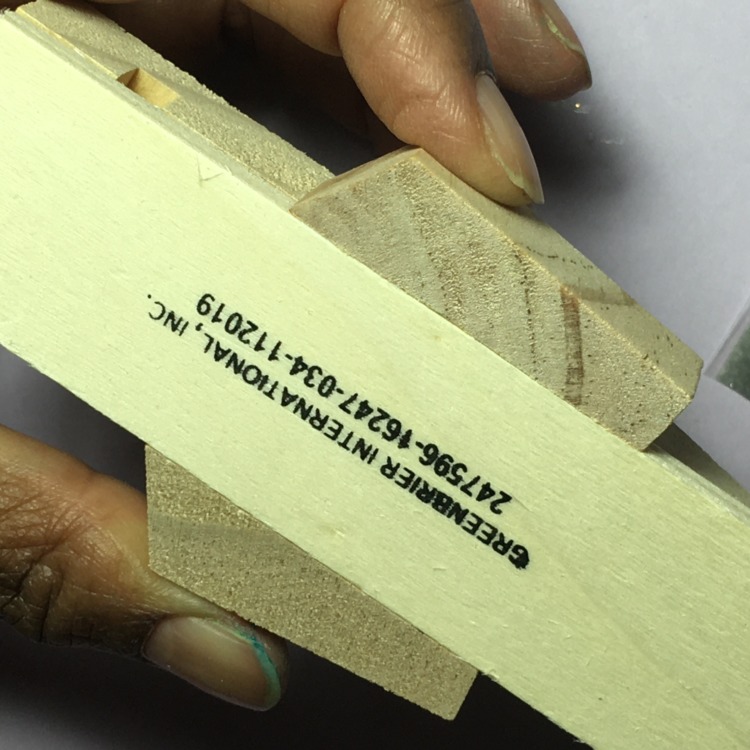
Next I measured 1/4 inch on the side, at the back end of the front hood. Repeat on the other side. I did this so that when I adhere the side boards, visually they will line up.

I then placed one of the side boards to line up with the line I measured above. I also made sure it lay flush against the bottom of the chassis.

I then drew a line on the inside of the side board where the front and rear hoods ended. This was more for an aesthetic point of view than any other reason. If you don’t do this, some glue will end up in that area. Once dry, you can paint over it with no problems.

Apply glue to the first side board and adhere to the car. Repeat on the other side.
This is what it should look like. I held both side boards in place until the glue had set enough for the wood pieces not to move out of alignment.

This is how the car should look at this stage. Just two steps to do before the painting begins.

I highly recommend this step if the plan is to use different colors for the car. If you don’t do this and paint over the areas I am outlining, the problem will be trying to adhere painted surface is almost impossible. Especially if seeking a strong bond.
I outlined the placement of the struts on the rear hood top.

Voila except, I admit, that I forgot to outline the area for the cockpit. Additionally, you could also adhere the cockpit now, if you are going to paint it the same color as the the rear hood. Set the car aside.

I wanted to paint the axles silver so I drew my paint outlines.

The end areas will be adhered to the wheels.
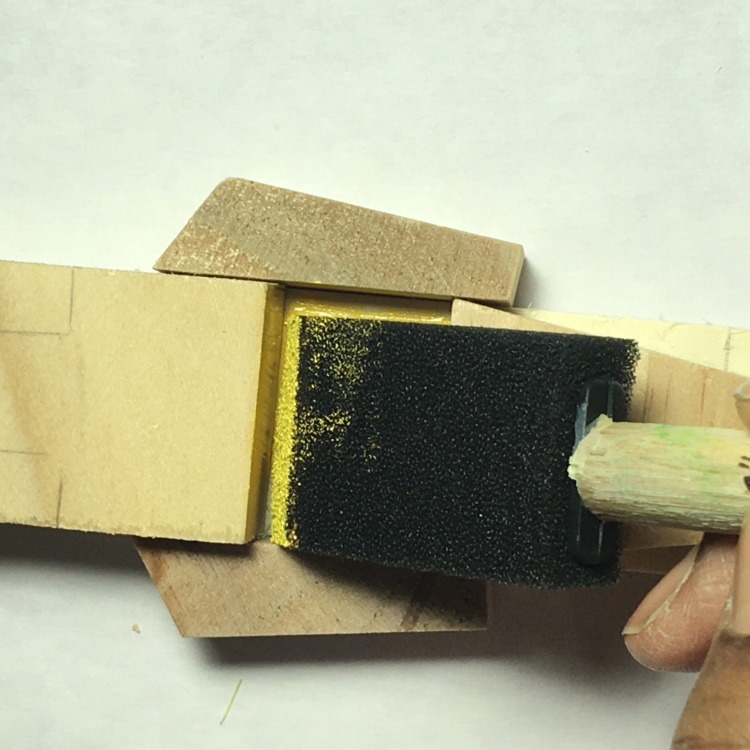
Now is paint time. Have fun with this section. My main color scheme was red and yellow.

A painting job in process.
Set the car aside to dry before painting the las few areas.

While the main body of the car is drying, continue to paint the other car parts. Make sure your leave the surfaces that will be adhered together unpainted. Don’t forget to paint the flat edges o the axles. (I forgot to do that and had to paint them after the car was put together. You will see the photo below.

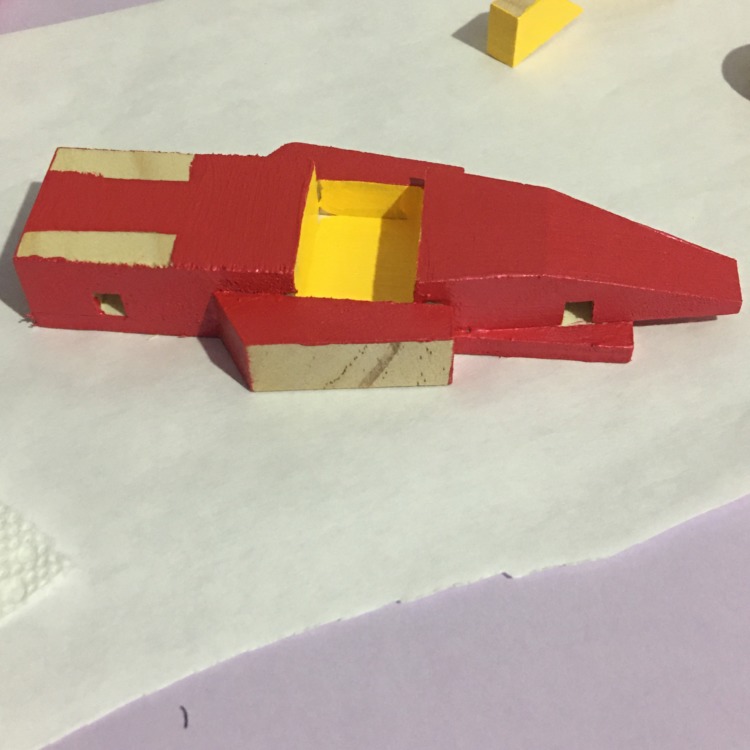
All the pieces painted and dried. Next steps are assembling everything together,

Apply glue to the bottom and attach.

Stuts adhered.

Next adhere the cockpit and the spoiler. Set aside to dry.

Once the other car parts have set, it is time to adhere the wheels. Add a drop of glue to the inside of one of the wheels.

Insert one end of the axle into the wheel. Set aside to dry. Meanwhile repeat with the other axle and a wheel.

Once the wheel and axles have set, insert the axle into the front or back holes.

Add glue to the second wheel and set into place. Repeat with the other wheels.

All done. Except as mentioned above, I forgot to paint the edges of the axles as you can see above.

So here is me doing a last minute painting adjustment.
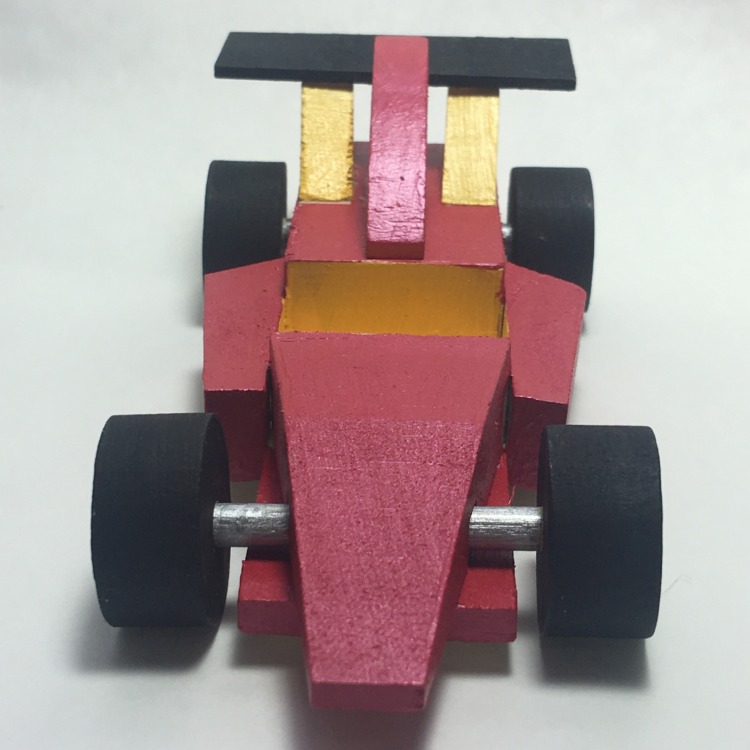
Yippee. Here is the car all finished.
