The following DIY is based on one of our upcoming DIY kits. This kit will feature transportation theme.

What I love about this helicopter is that it is wooden and fairly easy to put together. Any additional supplies you need are things that most families generally have at home like paint, paint brush, painters tape (if you decide to paint a fancy design on the helicopter) etc.
You can find more of the transportation tutorials here: airplane, car and boat.

Check out the full tutorial below.

Kit Supplies: cab, propeller B, propeller A, glue, eyelet holder, rudder, skids, roof, elevator, peg, tail, struts, rubber band, eyelet
Additional supplies (not shown): paint, ruler, pencil, painters tape, paint brush
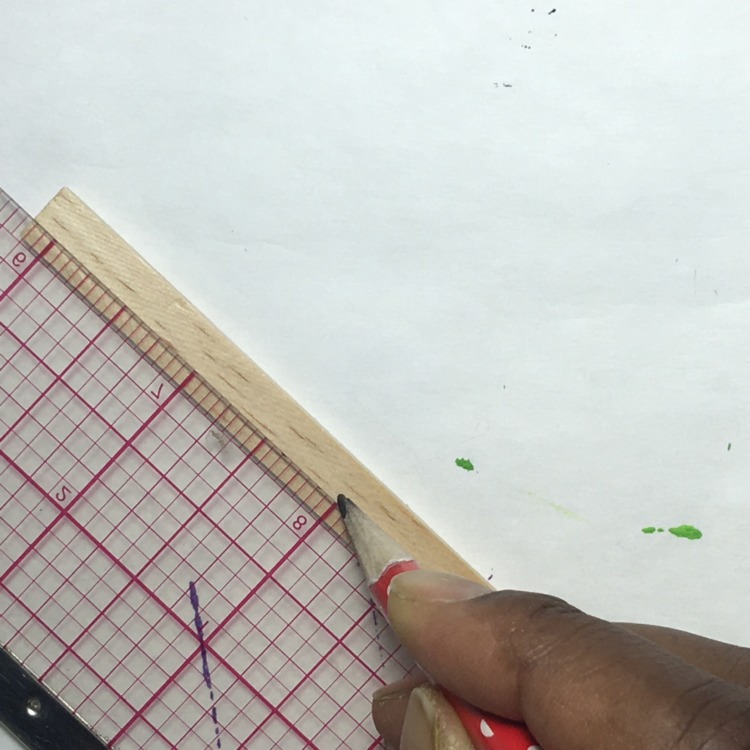
Measure and mark the center of propeller B.
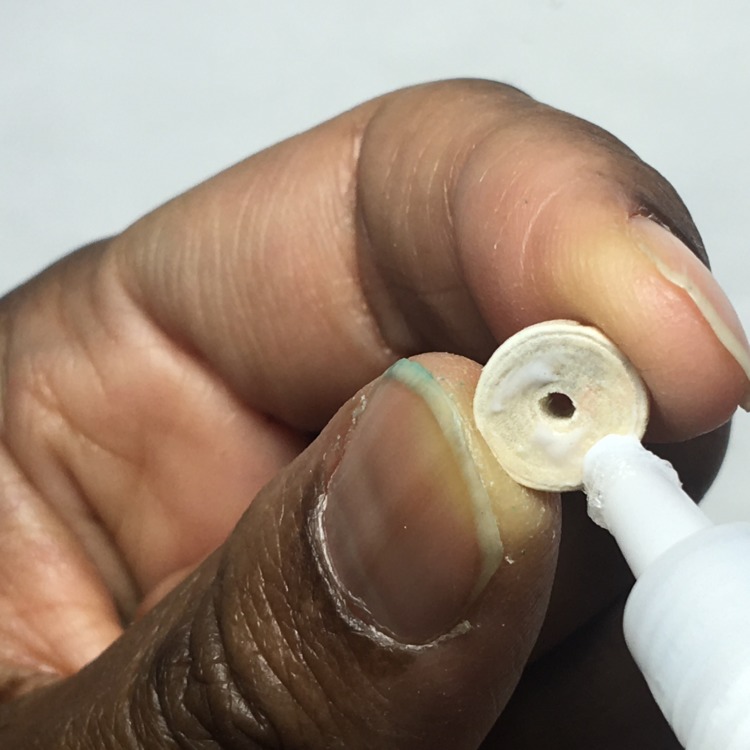
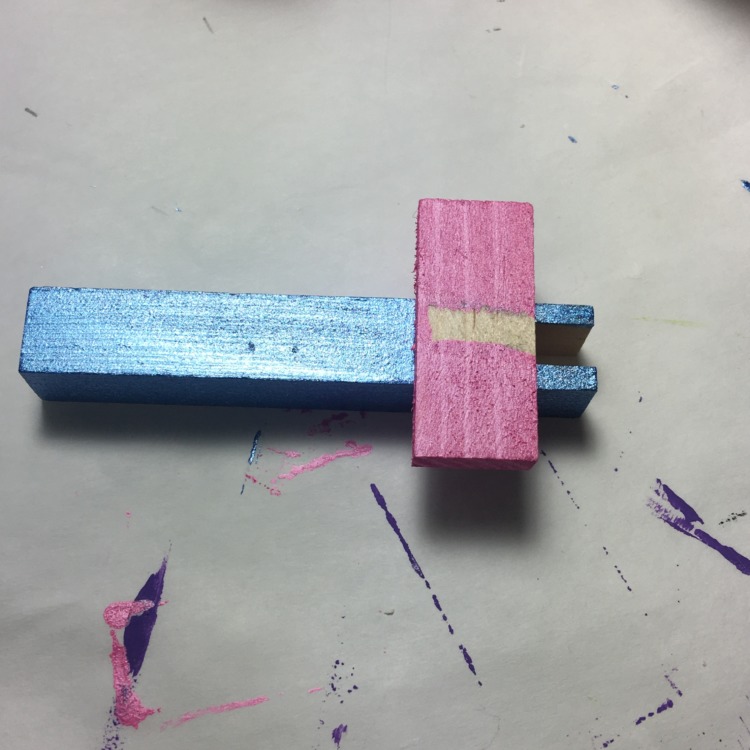
Add a dab of glue to the flat end of propeller A.
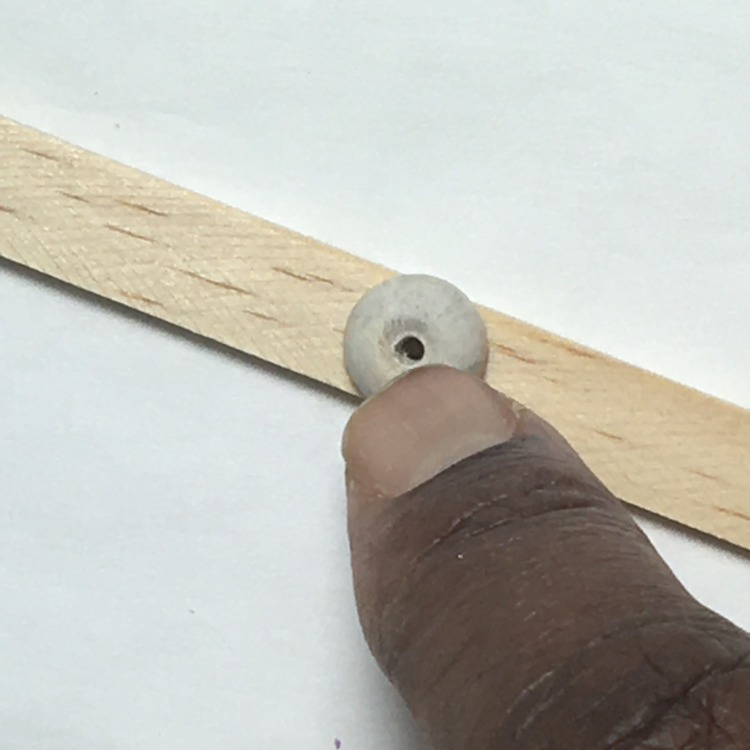
Adhere propeller A to the center of propeller B. Put aside briefly to let the glue set for a little while.

Once, the glue has set, paint the propellers. I went with white. Set aside for paint to dry.

Turn cab upside down and add a dab of glue into the strut holes.

Insert the struts

Add a dab of glue in the struts holes of the skids …

Insert the struts into the first skid …

And the second skid. Set aside for the glue to set.

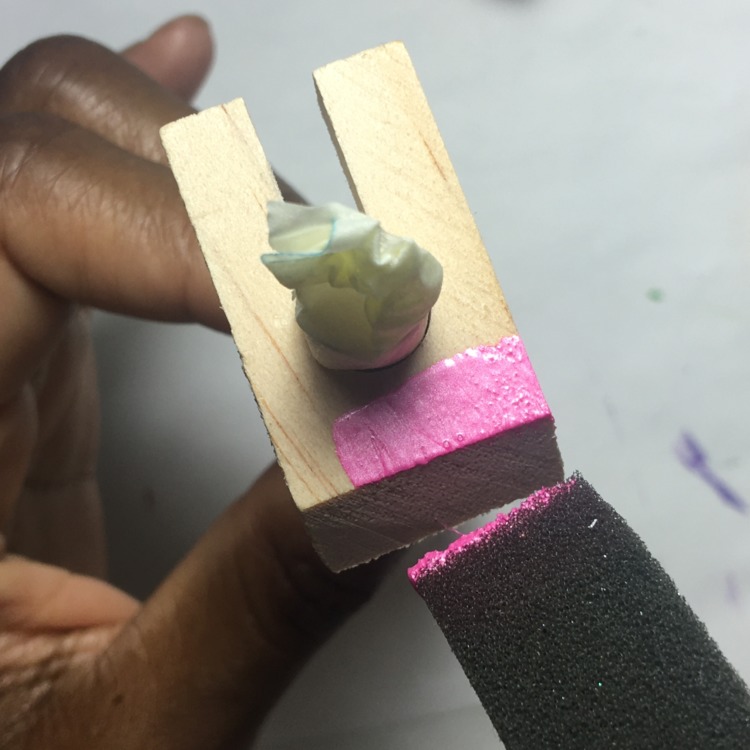
Paint the cab, struts and skids your desired colors.
Next paint the roof and all the other parts of the helicopter and set aside to dry. Of note, DO NOT PAINT, any surfaces that will be adhered together. Glue works best on unfinished surfaces.

Once the helicopter pieces have dried, next step is to put together the propellers to the eyelet holder as shown above

This is how it should look. Set aside.

Next step, add a dab of glue to the tail.
And adhere the elevator as shown above.

Finish off by adhering the rudder.

To adhere the tail to the body of the helicopter, add a dab of glue into the hole in the tail.

Insert the peg into the tail then add a little glue into the hole in the cab. Push the tail and peg into the hold in the cab.

Set aside for the glue to set.

Finish off by glueing the propeller onto the roof and cab. Set aside for the glue to dry.

Finally attach the rubber band as shown above.

All done!