This leather bag for 18″ dolls has been in the works for a while. I knew I wanted to create a bag for my 18″ doll DIY boxes and I wanted it to be fairly easy for my young customers to make.

As the idea was marinating, I experimented with various styles: small cute purses to messenger type. I finally decided on this style as it is big enough to carry stuff in it and it is a fairly easy design to make.

Part of what helped to cement this style was the leather. As soon as I saw it in the store, I knew I had to use it. And this style allows the surface design on the leather to shine. The neutrality of the surface design allows the rainbow fringe to stand out as well.
So how do you make this bag? Check out the DIY below as well as the video.

Supplies: leather bag (4″ x 6″) with pre-punched holes and straps attached, needle, embroidery floss, threader (optional), suede cording in 10 colors 9″ long, pair of scissors, glue (optional and not shown above), painter’s tape (not shown)

First step is to thread the embroidery thread. You will be using the 6 strands. I find it easier to use a threader but you don’t have to.


Once the needle has been threaded, fold the bag in half so that the handles are on the outside and making sure that the all the holes on the side are aligned, see top left photo.
Then insert the needle through the top most hole and pull the needle and floss through until you have about 2 inches remaining, top right photo.
Tape the end of the floss onto the bag and away from the holes, bottom left photo.
Re-insert the needle back into the top hole from the same direction as the first insertion, bottom right photo.

To sew, you will be doing the basic running stitch: insert the needle into the next hole, from the same side that the floss is coming out of the leather. This will take the needle to the other side. Turn the leather around so that you are facing the same side that the needle and floss are coming out of. Insert the needle int the next hole and continue with this process until you are done. You will note that some spaces between the holes will be filled with the floss and other spaces will be empty. That is okay.

Once you get to the last small hole before the large hole, you are going to continue sewing but now you will be going in the opposite direction to where you started.

Once you get back to that first hole, do a side stitch on the side and then tie a knot with the end of the floss (make sure you un-tape it first) with the rest of the floss. Do a single knot, then add a dab of glue on the knot (optional) and make a second knot. Pull tight and then cut off the floss floss to the knots.

Once you finish sewing one side, sew the other side.


Now it is time to add the rainbow fringe. First, fold the light green cording in half, top left photo.
Insert the looped end through the first large hole as shown in the top right photo.
Pull the looped end until you have enough room to insert the leg ends through the loop, bottom left photo.
Then pull the legs tight, bottom right photo.

Continue with adding the cording using the following colors in order: light green, light yellow, yellow, orange, pink, light pink, light purple, light blue, blue and purple.

Almost done. You may have to cut off the ends of the fringe to even up the bottom.
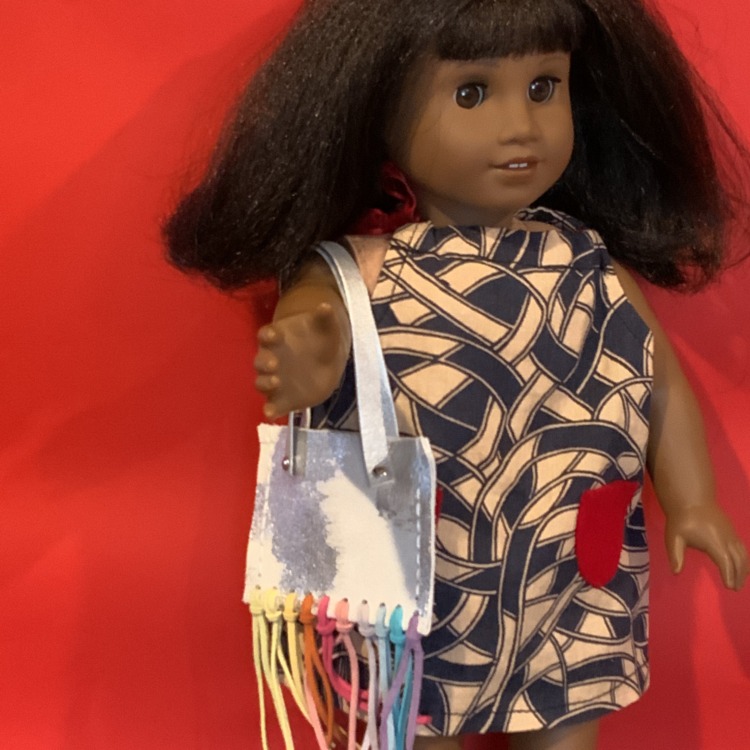
All done.