Here is the next in my series of origami projects. I’ve been wanting to do a butterfly for a while now but kept putting it off. Finally a few week’s ago, decided it was time.

As with most origami projects I highlight, this butterfly is pretty easy to do. Check out the DIY below.

Supplies: 6″ origami paper, glue.


- Place your paper diagonally in front of you
- Fold it in half diagonally.
- Unfold and turn the paper 90 degrees as shown in the bottom left picture.
- Then fold in half diagonally again. Unfold.

Next fold in half horizontally to create a rectangle and unfold.


- Fold in horizontal in the opposite direction.
- Unfold. Now you should have four fold lines.
- Refold into one of the horizontal folds. While holding the rectangle with the fold line above the open end, push against the left fold line so that it creates a large triangle as shown in the bottom left corner above.
- Bring the two bottom corners of the triangle in the bottom left corner to create the shape in the bottom right corner above.

What you have here is the water bomb base, which is triangular in shape.


- Now position the water bomb base so that the right angle is pointing towards your tummy. Then take the top right corner and place it so that it is pointing towards your belly.
- Repeat with the top left corner.
- Then take the right angle corner in the center of the top right photo and fold it towards the back and up until a tip of the corner shows up as shown in the bottom left corner.
- Fold the tip over the front, unfold then add a dab of glue to the teeny triangle.

Refold the teeny triangle and hold in place until the glue sets.

And voila! Here is your b butterfly.
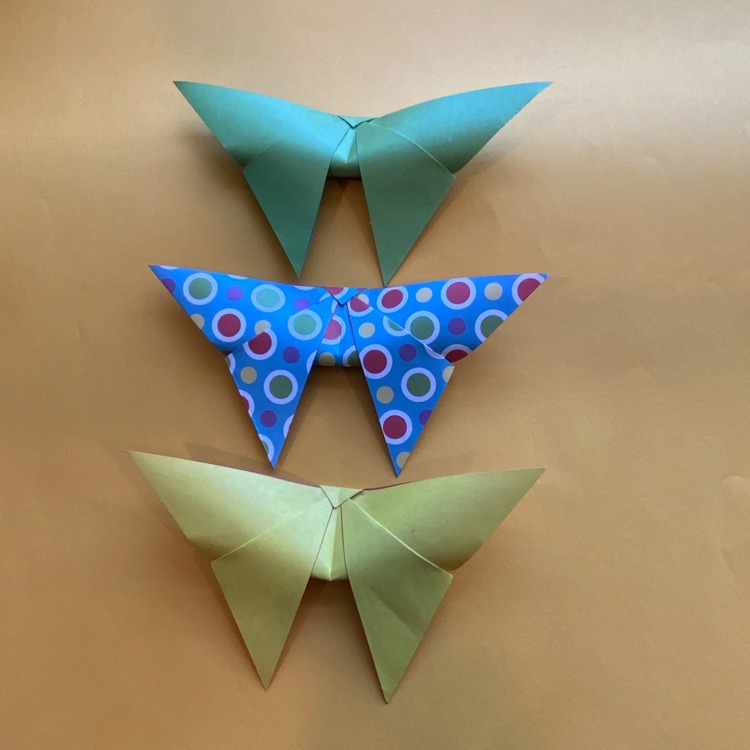
So easy to make, yet so beautiful.
Here is the video for those that love to watch the tutorial than reading it.