Here s another in my series of easy origami projects. This time I am making a bell, well a cooupla bells actually. It is amazing how a few simple folds can create something this adorable.

So how do you make origami bells? Get out the tutorial below.

Supplies: origami paper 6″ x 6″, .5″ wide ribbon, pair of scissors, bone folder and hole punch


To begin create two opposing valley folds, so that the folds are centered on each side.

With right side face down, bring the top right corner to the center point, where the two fold lines meet.


Repeat on the other side (pic top left), fold shape in half along center horizontal line (pic top right) so that it looks like pic bottom left. Turn the bell up side down like pic bottom right.

Looking at the bottom right pic from the gallery above, bring the bottom right corner to the center corner point. Repeat on the other side like pic top left in the gallery below.


In pic top right, the bell is coming to life. Just a coupla small folds to finish it off. Turn bell upside down as in pic bottom left and turn the top right corner of the bell in slightly. Repeat on the other side then turn the bell right side up as in the pic bottom right.

Finish up by centering a hold near the top of the bell.
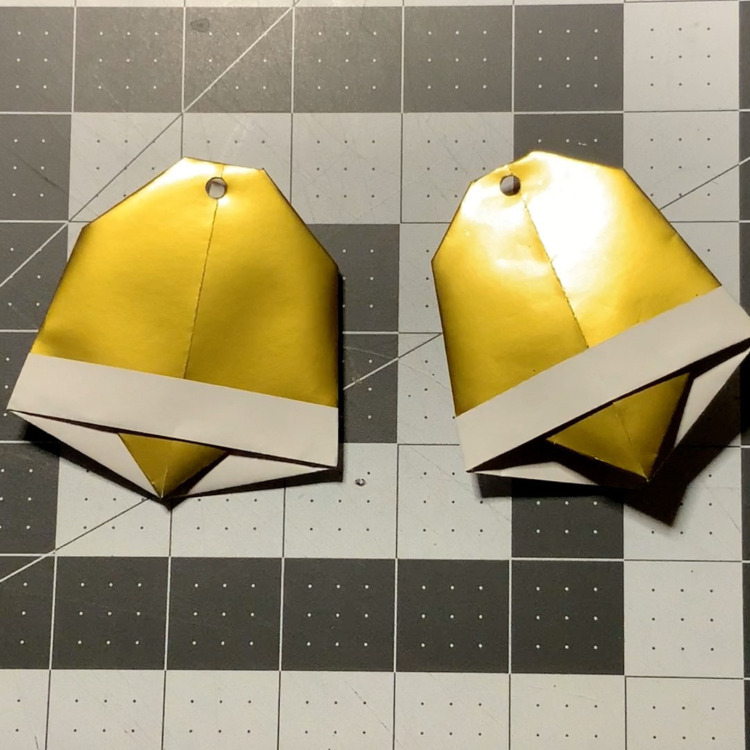
Here is my finished two bells.
Last step is to tie the bells together with ribbon. And voila!!!

I used the bells that I made as a finishing accent for gift wrap.
Check out the video tutorial below for the full how to.