I recently started using loop yarn, and one of the first projects that came to mind was trying to make a scrunchie with it.

This project is a little more difficult due to its small size and circular shape. I recommend practicing and getting comfortable with the loop yarn first, maybe try making a scarf!
Supplies: Loop yarn, hair elastic, and scissors.
The First Row

Start by placing one loop through the hair elastic. Position the rest of the yarn to the left. I recommend unraveling the yarn a little, it makes it easier to work with.

Position the next loop on the yarn behind the elastic. Pass the second loop through the first loop from the back to the front. That is the first stitch done!
This is how loop yarn works. You will always take the next loop on the skein of yarn and pull it through the previous loop. Make sure to keep the skein in the back of the work and pull the loop through the back of the previous loop, coming towards the front.

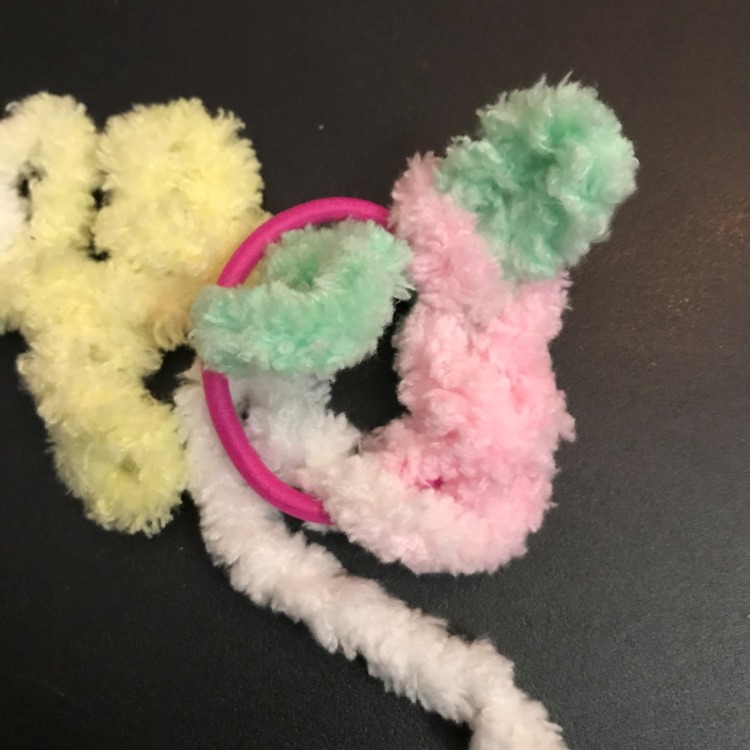
To attach this first row to the hair elastic you need to alternate between two stitches. So while the second loop went behind the elastic, the third loop will go in front of it. Pull the third loop into the center of the elastic and lay it over the elastic next to the second loop.

Pull the third loop through the second loop.
Continue the steps above all the way around the elastic. Alternating between placing the new loop either behind or in front of the elastic. Then pull the new loop through the previous loop.
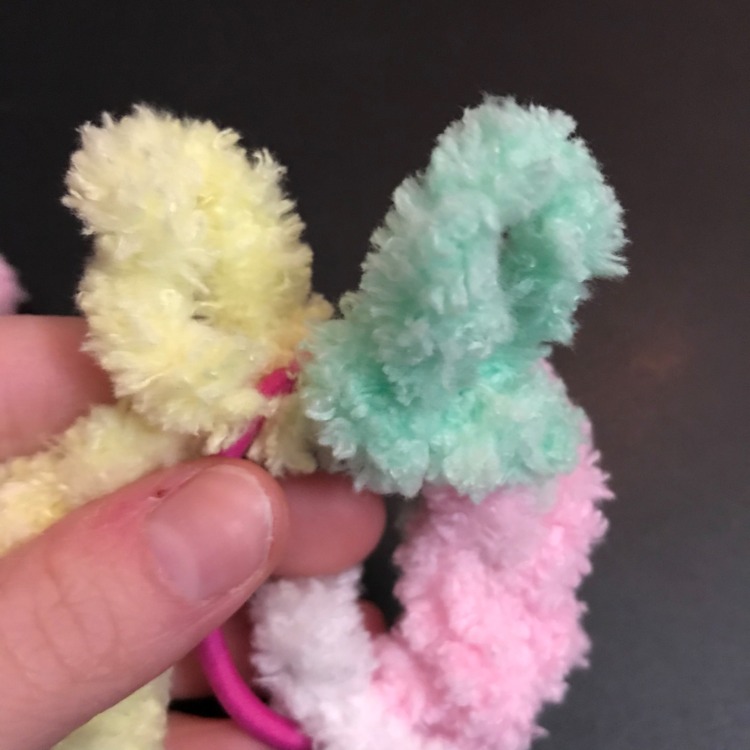
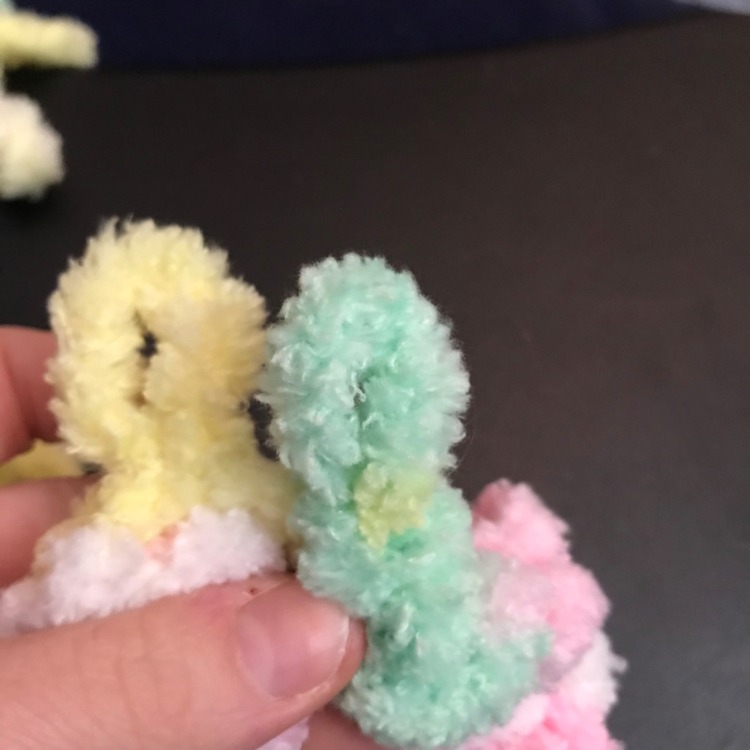
These are the two ways that the loops could look. On the left is the loop in the front and on the right is the loop in the back.


Once you go all the way around the elastic might look full. But if you stretch the hair elastic, there is still a lot of space left.

Push the stitches you’ve made together to make more room on the elastic. Keep adding more stitches to the elastic.

In total I used 25 stiches for my scrunchie, but you can use more or less, its up to you.
The Second Row

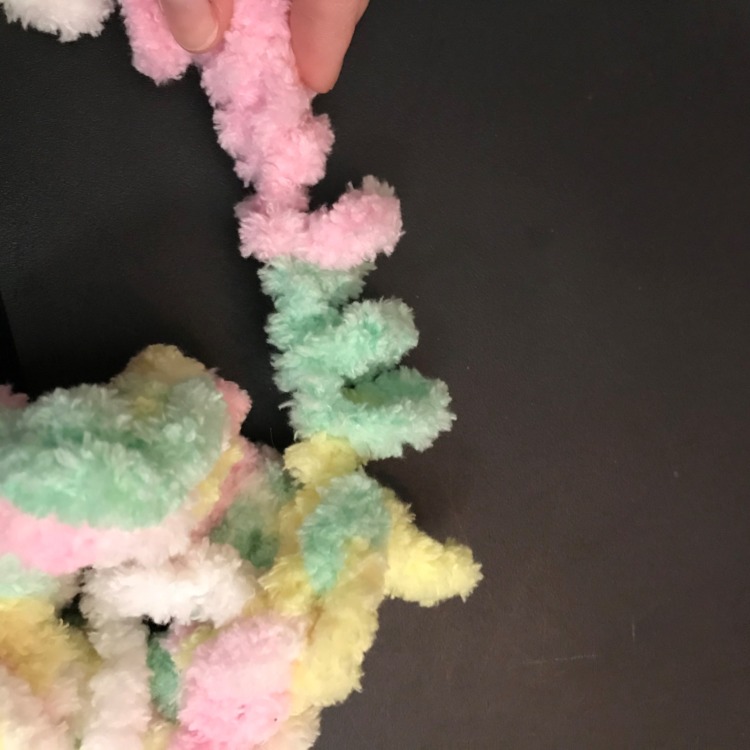
The next step is to chain one stitch. Take the next loop on the yarn and pull it through the last stitch on the elastic.
Time to continue onto the next row.


Locate the hole that the first stitch forms over the elastic. Pull the next loop on the yarn through that hole.

Pull the new loop through the previous loop.


Repeat the steps of finding the next stich, pulling a new loop through that stitch, and pulling the new loop through the previous loop, all the way around the elastic.


Once you go all the way around in this second row, pull a loop through the first stitch of this row. Complete a stitch like any other, pulling the new loop through the previous one.
Finishing

Lay the tail of the yarn out, making sure not to pull the last loop out of the scrunchie. Cut the yarn between the third and fourth loops from your scrunchie.


There is a small string that forms the loops in the yarn. Carefully separate the two sides of the loop and cut the string that holds them together. Repeat this with the other two loops.

This is what the tail will look like with all the loops cut.

Thread the tail of the yarn through the last loop and pull it tight.

Weave the rest of the tail and the tail of yarn from the beginning into the scrunchie. If they are very long you can cut them shorter. A tapestry needle will this process easier.

Congrats! It’s done!