This is an activity I have been dying to do for years now. But I kept putting it off partly because I couldn’t figure out a reason to do it. And now as I continue to venture into the American Girl Doll Crafts world, it seemed like a perfect fit.

So, to start, I ventured into Manhattan to find some lace ribbon. I had thought about buying it from online sources, but felt that this was one of those things that I had to buy in person. I wanted to feel the ribbon and see the different shades of gold and silver. As fabulous as shopping online can be, our different screens can show a color a little differently than IRL.

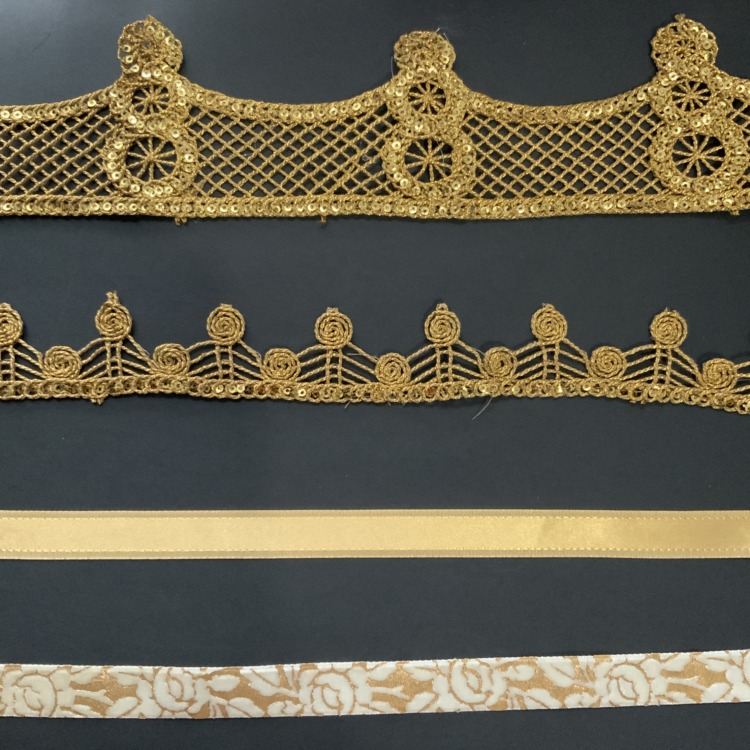
So after spending almost two hours in two separate notion stores, I ended up with the selections shown above.

So how does one make a lace ribbon crown? It is actually pretty easy. Out off the tons of crafts I do out there, this is one of the easiest I have ever tried to teach my students. And it is also perfect for virtual teaching.
So when it comes to cutting the ribbon to size, a coupla points to consider:
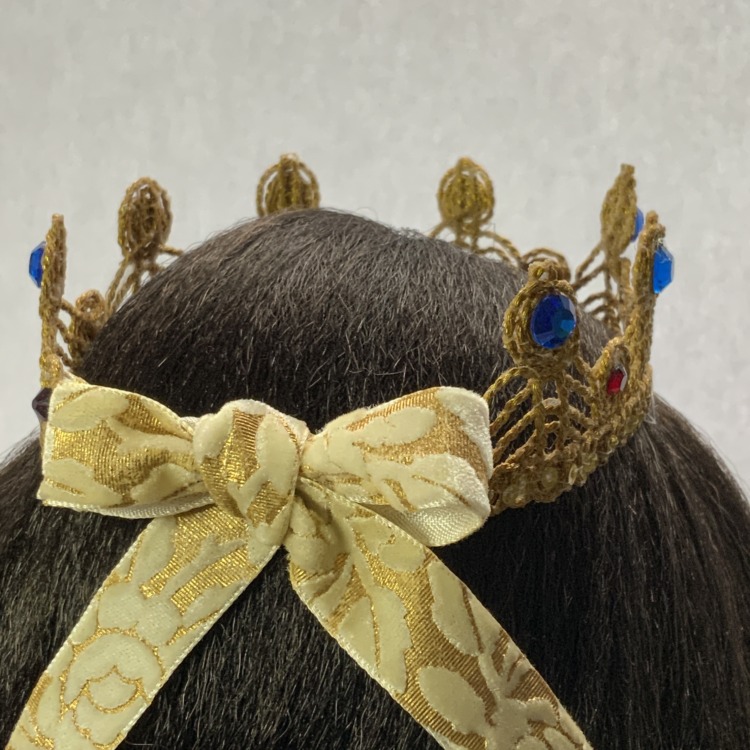
- I recommend making an adjustable crown.
- Cut the ribbon about 3 inches smaller than the size of the doll’s head.
- Also make sure to cut according to the lace design. When you watch the video, you will see that I used these spiral circle designs as the start and end of the crown. It makes my crown look so much better than if I had cut through through the middle of the circles.

Of note, you could make the crown without using fabric stiffener (or use a solution of glue and water), but that may lead your crown to become floppy. So I highly recommend using fabric stiffener or the glue and water solution (roughly 2 parts glue to 1 part water). And if using fabric stiffener, make sure to wear disposable gloves.
Ok, now without further ado, please check out the video tutorial on making lace crowns below.