Here is another creature in my easy origami projects. It is cute and whimsical and a perfect project for beginner organist.

Check out the tutorial below.
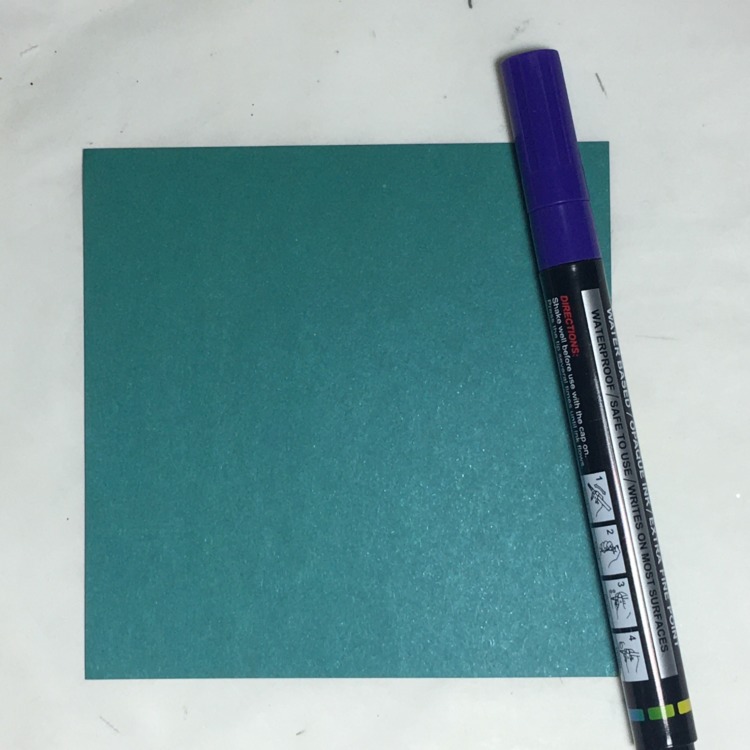
Supplies: 4″ x 4″ origami paper (you can use large size as well or other non origami specific paper as long as it is not too thick), marker

First place the paper in front of you so that corners are pointing north, east, west and south. Fold in half diagonally, vertically, and create a sharp crease by running a nail along the just created fold line,
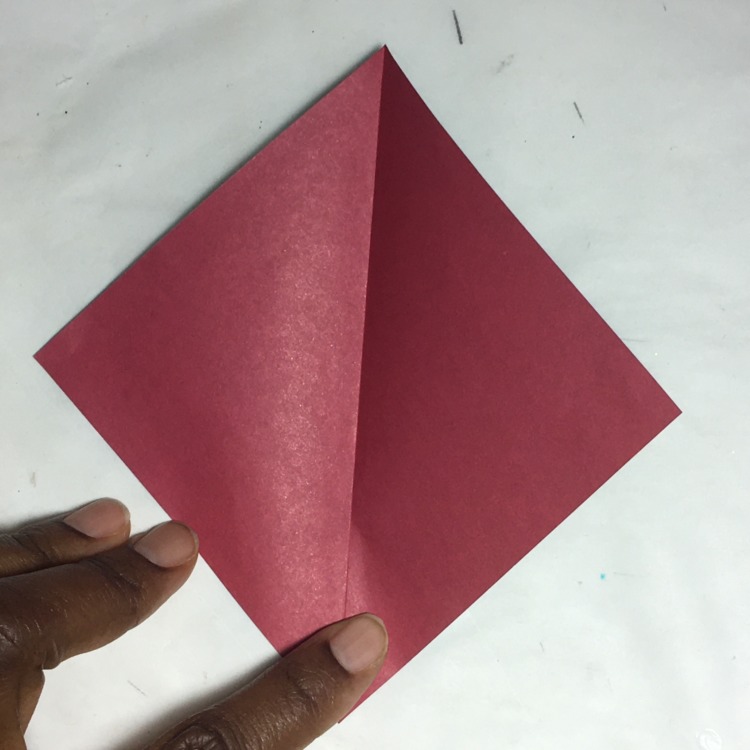
Open.

Fold diagonally again but this time horizontally. Create a sharp crease.

For the next fold, use the above image as a guide. The section highlighted with arrows is the center fold line that was created with the very first fold line you made. Measure out, a rough estimate works fine, about 1/2 inch from the center fold line. That area is highlighted with the dotted line above. This will be your new fold line.

Fold and create a sharp crease.

Next fold back the top section you folded in the step above. You want to align it so that the open edges lines up with the top right corner as shown above.

For the next fold, use the image above as a guide. You will be creating a fold line where the dotted line is. The fold will be going to the back of the mouse.

Go ahead and create the fold line. Almost done.

The final steps are drawing the mouse features. I used paint markers but you can use whatever markers you have.

Hi little mouse!!!!