So I am going to start off today’s tutorial with an apology. I have not posted any DIY’s in the last two weeks because I moved: mostly by myself. So its taken me this long to do the move and get my living and working space to such a place that I can actually work again. I still can’t find some of my supplies but I know that they are around somewhere … 🙂

Now to slowly get me back into my grove, I thought I would do a Penguin Origami. Not only is it adobs, but it is part of the easy origami collection that I began showcasing earlier this summer.

As with some of my earlier origami projects, I did take a little creative license by glueing on the penguin mouth so that you can have that nice contrast. It’s not necessary to add the contrast but this gives you options to customize your penguins. So check out the tutorial below.

Supplies: 6″ x 6″ double sided origami paper, scrap of yellow origami paper, graph ruler, adhesive (for this type of projects, I tend to like tape runners than liquid glues), markers and pair of scissors (or in my case, my handy dandy box cutter)
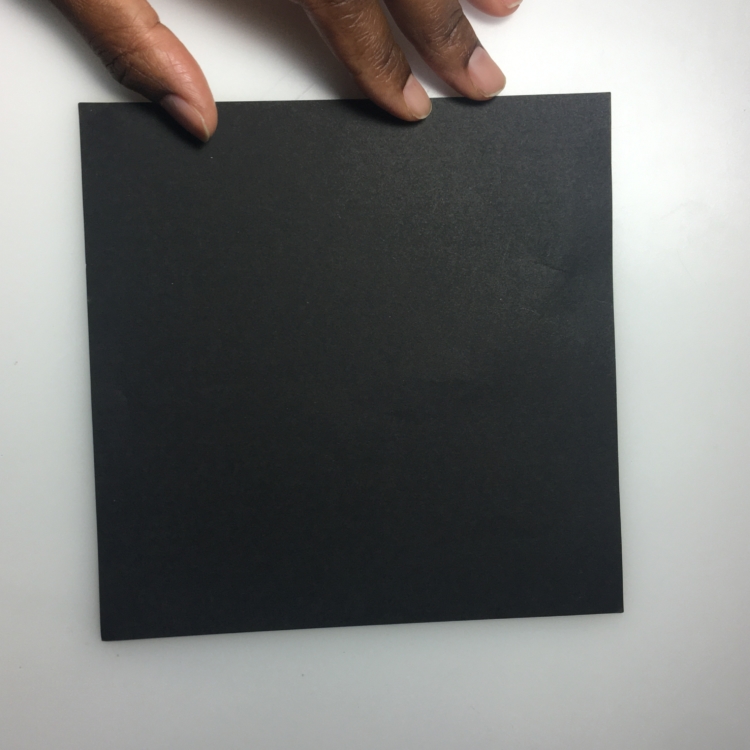
When using double sided paper, the color of the head and the wings needs to be face up to begin.

Fold the paper in half diagonally. Then make sure to create a sharp crease by running your nail on the just folded edge.

Undo the fold.

Fold the paper in half diagonally again, this time in the other direction. Create a sharp crease.

Undo the fold.

Using the graph ruler, measure out 7/8 of an inch from one of the diagonal fold lines. You can skip this step and guesstimate it but I find that measuring this out makes it easier to line up the wings to the body.

Go ahead and fold on the 7/8″ line.

Create a sharp crease.

From the yellow scrap paper, cut out a right angle triangle that is about 1 inch deep.

Add adhesive to the back of the yellow triangle. Set aside.

Place the penguin body in front of you as shown above. Unfold.

Adhere the yellow triangle to the back top corner as shown above. Refold on the 7/8″ fold line and turn the body upside down.

Now for the next steps, you will be using the above image as a guide. You need to bring point A to point C and then bring point B to point C. Of note, this will happen on the backside and not the front as shown above. Turn the above shape up side down.

As described above, bring point A to point C.

Then bring point B to point C.

Next bring point B to the bottom left corner as shown above.

Feel free to turn the paper up side down so that you can line up the wings exactly.

Repeat on the other side and turn the penguin right side up.

Turn the mouth down making sure to line up the corner with the center fold line. Create a sharp crease on the new fold line.

Finally draw in the penguin eyes. I like an oval like shape but you can draw them anyway you want.

Here we go, little penguin is done.