Two easy and customizable ways to make your own paper pumpkins!


Method 1: Strips of paper
Supplies: Paper, yarn (ribbon would work too!), ruler, pencil, scissors, hole punch (optional), tapestry needle (optional).

Measure and cut out eight (8) rectangles from your paper that are 1/2 inch by 4 inches.

Punch a hole at either end of each strip of paper, about 1/4 inch away from the edge. My yarn was quite thin, so I used a sharp pencil to poke my holes because the hole punch would have been too big.

Cut a piece of yarn (about 10 inches) and tie a knot close to one end. The knot needs to be big enough to not fit through the holes. Stack your paper strips and thread the yarn up through the bottom hole and then back down through the top hole. I found a tapestry needle really helpful with this step.

Bend the paper to create a curve. Tie a knot in the yarn to create the desired height of your pumpkin.

Evenly fan out the paper strips to create a circle. Trim away any excess yarn. (I left mine longer so I could hang my pumpkin up as a decoration)
And now your pumpkin is complete!
There are a bunch of ways to customize your pumpkin. Different color paper, using more strips of paper (I would not go below 8), different sizes of paper strips (make longer or wider), different heights, or even adding paper leaves to the top.
Method 2: Circles
Supplies: paper (color and scrap piece), scissors, pencil, glue stick, round object (to trace), cardboard (optional)

Trace your round object onto the scrap paper twice, having the two circles overlap by about half.

Use these overlapping circles as the base of your pumpkin shape. I made mine just slightly shorter, but kept the width. Cut out your shape. Then, fold it in half and trim the right and left sides, so they are symmetrical.

Trace this shape onto the carboard and cut it out. This is optional, but the cardboard will be stronger and hold up better to being a stencil. If you are as forgetful as me, I recommend labeling the top and bottom of your stencil.

Trace your cardboard shape onto the final colored paper (I did 12). And cut them all out.

Fold them all in half, creating these “pumpkin segments”.

Glue together your pumpkin segments, two at a time. Gluing the back of the right side of the segment on the left to the back of the left side of the segment on the right.

Make sure to line up the folded edges of each segment.

Keep gluing the segments together, until the last two segments when glued together form a circle. Don’t worry about the hole in the middle of the circle.

Cut a rectangle out of green paper that is 1/2 inch by 4 inches.
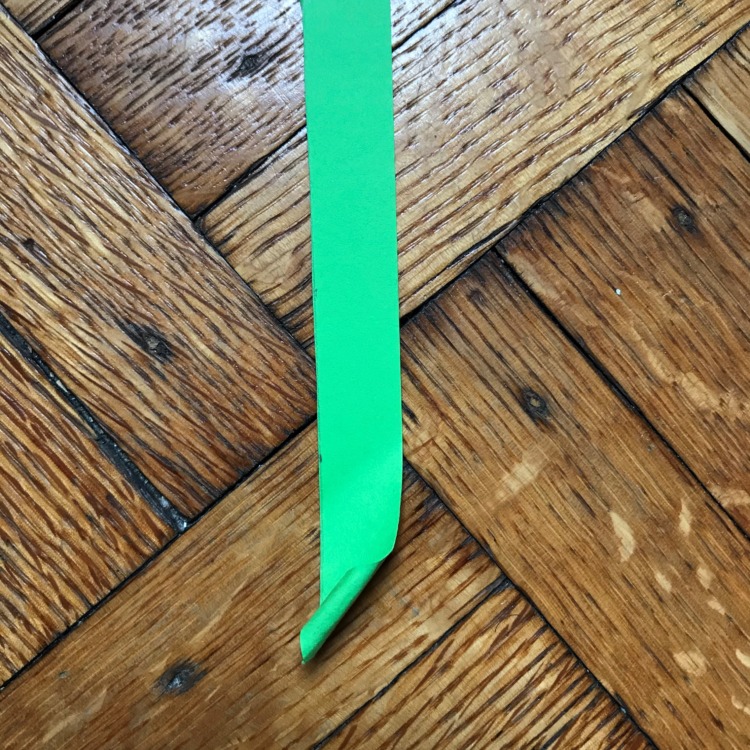

Roll this piece diagonally. Flatten the end and use glue to secure it from coming undone.

Fold in half.

Insert into the center gap of the glued together pumpkin segments

Congrats, you’re done!
To customize this design, try making different shapes and sizes (use a different circular object that you trace). Or change up the number of segments you use (I wouldn’t go fewer than 10).