Here comes another in our collection of origami animals. This panda origami was fun to do and pretty easy too. What I have been loving about the collection of origami animals, is how much they look like the animals they are supposed to be. I have been asking my trusty 7 year old twins guess what creatures they see in my examples.

You gotta admit that it is adobs. Check out the DIY below,

The black side is the right side, so place that face down on your work space.

Fold the paper in half diagonally, as always making sure that the right angles meet exactly. Create a sharp crease by running your nail on the fold.

Fold the triangle in half to create a smaller triangle. Create sharp creases on both sides of the triangle with folded edges.

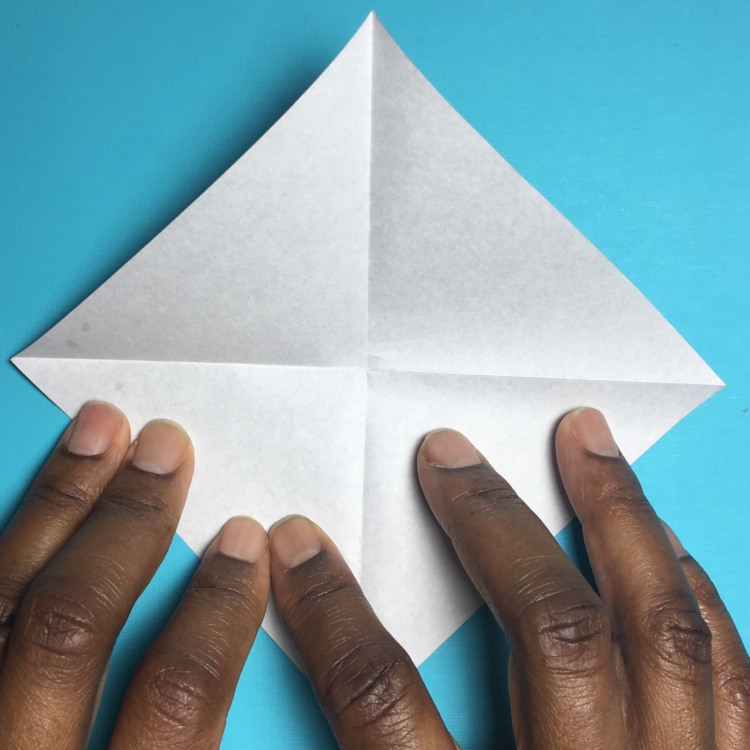
Unfold and place in front of you with one of the square corners pointing towards you.

Starting from the right side, fold to bring the right corner to the point where the two fold lines meet. That is also the center point of the paper. Create your sharp crease.

Repeat on the other side and then unfold.

Repeat the process for the top and bottom corners. Unfold.

Refold the left and right sides. Then fold the top corner so that the tip meets the top fold line as shown above. Of note, the angle of the photo makes it look like the tip lies just below the fold line. It does not and please make sure yours lands on the fold line as well as the tip lines up with the center fold line too.

Turn the the panda up side down as shown above.

Fold and bring down the top edge to lie parallel to the bottom most fold line. The edge should lie about 1/4 of an inch from the fold line. Create a sharp crease on the newest fold.

Fold to bring the bottom corner to line up with the bottom fold line. Create a sharp crease on the newly created fold line.

Perfect. Almost done.

Time to add the panda features. Use a marker to draw in the eyes and nose.

All done. Cute panda face.
