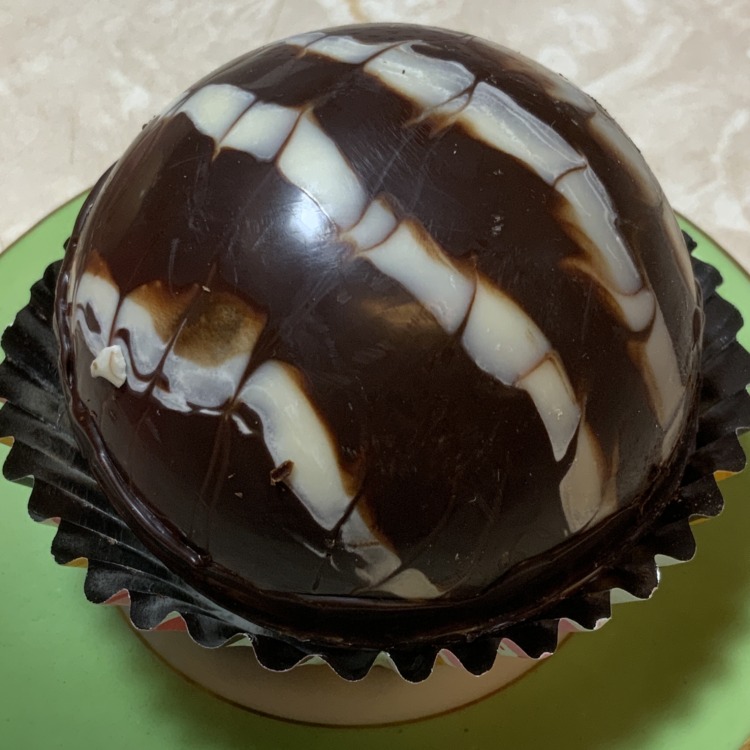
So I first came across hot chocolate bombs late last year. Now I am not a big hot chocolate drinker. In fact, the last time I had hot choc was 2 years ago. What I liked about the bombs was the aesthetics of the product: this perfect sphere of chocolatey yumminess decorated to entice.

With my twin buddies turning 9 at the end of January and with Valentine’s Day just around the corner, I decided to multitask: learn how to make hot choc bombs and make some handmade gifts.
So this past weekend I literally spent both days immersed in the world of chocolate. First step, I had to make my life more challenging by deciding to create the hot choc mix from scratch. My mission was to create three types of mixes: bittersweet, white choc and peppermint and strawberry. Well the first two came out beautifully but the strawberry broke my heart. I used strawberry powder I created from freeze dried strawberries which are so fragrance and yummy. But the strawberries would not play well with the other ingredients when I added the milk. It became this lumpy mess. So while I am sad to say goodbye to the strawberry mix idea for now, I will keep working on it.
For today’s post though, it’s all about the white chocolate and peppermint bombs. I did some initial research to see what normally goes into from scratch white choc mixes. Because of my cooking history, I have gotten to a point that I can look at a recipe and gauge, without cooking it, whether the amounts make sense and substitutions I can make.
So for white chocolate mix, the main ingredients included: white chips, wafers or white chocolate, nonfat powdered milk. From there people started customizing by adding ingredients like: non dairy creamer, vanilla pudding mix and peppermint candy or flavor.
So for my version, I decided to use whole milk powder together with nonfat milk powder, peppermint Altoids (because of the strong peppermint flavor vs regular peppermint candy) and smashed dehydrated marshmallows. For those of you who do not know, dehydrated marshmallows are like the marshmallows you find in cereals. They are so easy to make: place marshmallows on a parchment lined baking tray. Make sure to separate them as they will expand as they dehydrate. Bake at the lowest temp that your oven allows for 2 hours. My oven went down to 175 degrees and I baked them with the oven door slightly ajar (I used the width of a wooden cooking spoon to hold the door open). Of note, while the marshmallows are warm, they will be soft. To test readiness, remove one from the oven, allow it to cool to room temp and then test for crunchiness. Once ready, let the entire batch cool before storing in an airtight container. When ready to use, use a food processor or allow kids to put the dehydrated marshmallows in a zip bag, and smash using a rolling pin or small pot.
Now onto the recipe. Before I forget, you can use a store bought hot cocoa mix if there is a brand you like. Just skip the first section on making the mix.
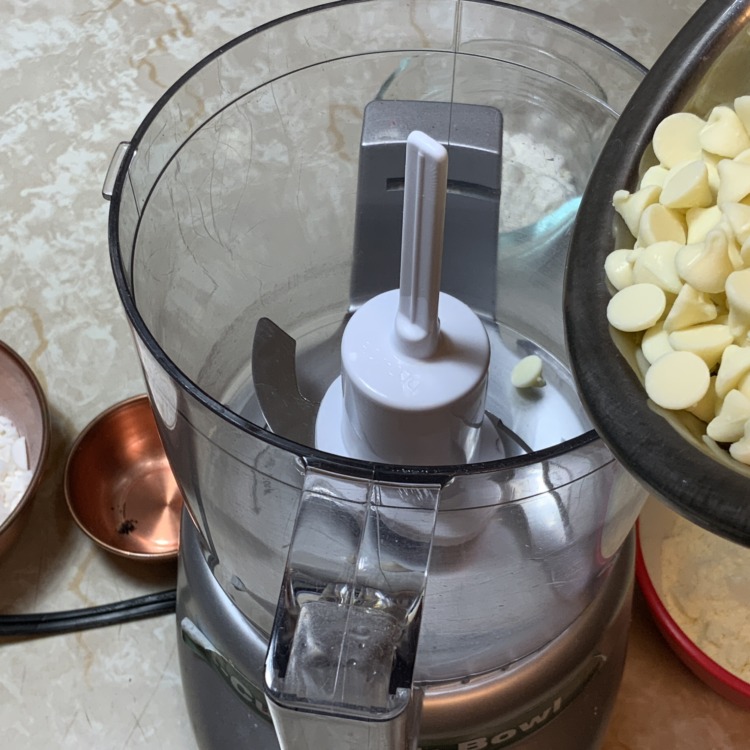
Add the white chips into the food processor. Of note: while I used whites, they are not categorized as chocolate because they do not contain any cocoa butter. I recommend you use baking chocolate that contains cocoa butter.


Then add powdered whole milk, nonfat powdered milk, crushed peppermint altos, smashed dehydrated marshmallows,

and vanilla bean seeds.

Pulse until well combined. Pour into an airtight container and set aside for now.
Now to make the actual bombs:


Melt white chocolate either double boiler style or microwave. If microwaving, I recommend to: microwave in 30 second burst and at 50 percent power.
I used Ghirardelli brand white chocolate which is different from the white chips and the melting wafers. The chocolate is more liquid or runnier than the chips, which tend to melt at a thicker consistency. Since there is a lot of waiting for the chocolate to set, the more liquid it is, the less you have to reheat. If you are working on different color designs, it may be beneficial for you to use a cooler chocolate.
Anyway once melted:
- Portion out a small amount of the chocolate into a separate bowl and add powdered pigment. Mix until you are happy with the shade.
- I cut out a heart template from parchment paper and used that to create the hearts on each bomb. If your freehand skills are the bomb, no pun intended, then go for it. You can add the heart to half or all of the domes. I picked half. Then set in the fridge to set.
- After about 10 minutes, use a paint brush to create the first coating of the white chocolate all over each cavity. Of note, I the melted chocolate is warm, do the sides first before painting over the heart. The warm choc may melt the heart. And also paint gingerly just incase. Once all the cavities are done, place in the fridge to set.
- Then apply the second and final coating. You do not want the domes to be too thick or else they won’t melt spectacularly when you pour the hot milk.

Now I prefer to “glue” the dehydrated marshmallows (you can use the regular type) onto one of the domes.


- Take one of the marshmallows and dip it in the white choc and then stick it onto one of the domes.
- Depending on how big the domes are, I usually do a minimum of 4 marshmallows.
- One half of the domes are done, place in fridge to set.
- After the alarm goes off, time to check to see if my design worked, and it did. Of note, from this point on, I wear disposable gloves because the heat of my hands can hasten the melting of the chocolate and I also do not want to leave my fingerprints.

Now add 1 to 2 tablespoons of the white chocolate peppermint mixture. For this DIY, I used 2 inch wide domes so I only used one tablespoon. The larger the domes are, the more mixture you can add.
Now instead of holding the dome in your hand, you can place it on a round cookie cutter so that it lays as shown. Make sure that you place it on the side that has the rolled edge and not the cutting edge. I also use a small bowl to hold the dome.


- Now to make the sphere, you will need to melt the marshmallow edge before pressing it onto the mixture filled dome. My preferred method is to put a small baking pan on top of a simmering pot. I like the baking pan with aluminum foil (for ease of clean up). Then I place the dome on the baking tray for a coupla seconds until the choc starts to melt.
- I then remove the dome and place it over the other dome
- Then I paint the seam with the melted choc to seal it.
- And finish up by “cleaning” up the seam with a heated offset spatula. When done, I place the bomb into a cupcake liner.

And voila. All done!!! To brew a cuppa, place the bomb into a cup. Pour 6 oz to 8 oz of very hot milk over the bomb then stir and enjoy!

Here is a birthday gift for one of my twin friends. I hope she likes them.

Hot White Chocolate Peppermint Bomb
Ingredients
White Chocolate Peppermint Cocoa Mix
- 1/2 cup fat free powdered milk
- 1/2 cups whole powdered milk
- 1.5 cup Ghirardelli white chips*
- 2 regular size tins of peppermint altoids
- cup ¼marshmallow powder made by smashing dehydrated marshmallows
- 1 vanilla bean
Making the Hot Chocolate Bombs
- White chocolate peppermint mix
- Marshmallows dehydrated or regular
- 1 to 2 bars Baking white chocolate
- Pink edible powdered pigment
Instructions
Making the White Chocolate Peppermint Cocoa Mix
- Place all ingredients into a food processor. Pulse until well combined and the mixture looks like flour.
- Store in an airtight container.
Making the Hot Chocolate Bombs
- Melt white chocolate either double boiler style or microwave.
- Portion out a small amount of the chocolate unto a separate bowl and add powdered pigment. Mix until you are happy with the shade.
- Freehand paint a heart shape or cut a template out of parchment paper. Place the template inside the center of the dome cavity (I used mold with cavities 2" wide) and paint with the pink chocolate over the negative space. Repeat in the desired cavities. Place in the fridge to set for about 5 minutes.
- Remove from fridge and paint the entire surface of the cavities with the white melted chocolate. For the first coating, be careful painting over the heart if the chocolate is warm.
- After the first coating, return to fridge to set for about 10 minutes.
- Then apply the second coating of chocolate and return to fridge.
- To set the marshmallows in the domes, dip each marshmallow in the white chocolate and place it one of the domes. Make sure that none are taller than the dome edge. Place in the fridge to set.
- To assemble the bombs first wear some disposable gloves: remove the molds from the fridge and gently lift the domes from the cavities. I recommend returning the domes back to the fridge when not working on them and keep out only the two opposing sections. White chocolate melts at a faster pace than other types of chocolate so keeping it cool when not in use is essential.
- Place the non marshmallow dome on a stand: I use a cookie cutter or small bowl that has a rolled edge. Fill the dome with 1 to 2 tablespoons of white chocolate and peppermint mix.
- Take the marshmallow dome and and melt the bottom a little and then quickly but gently place it over the other dome to create a sphere.
- To seal the seam, paint it with white chocolate. To get a nice even seal, use a heated offset spatula to clean up any lumps or bumps.
- When finished, you can brew a cuppa by placing the bomb in a coffee mug. Pour 6 oz to 8 oz of very hot milk over the bomb then stir and enjoy! Or place the bombs in a cupcake liner and package in a beautiful container to give to loved ones.